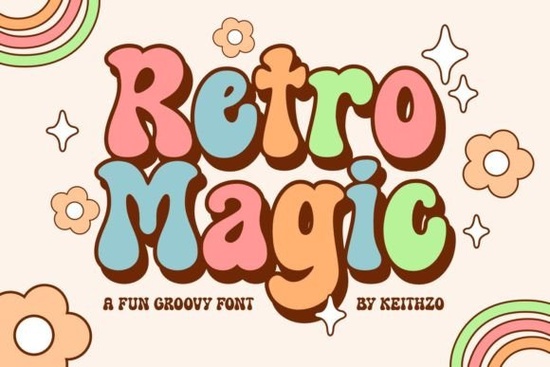
If you are looking to add a touch of warmth and nostalgia to your current projects, the Retro Magic Font is a strong candidate for your toolkit. Designed with versatile strokes and playful curves, this display typeface brings a romantic and exquisite feel to almost any creative application. Whether you are crafting greeting cards, designing headlines, or working on personal DIY projects, this font helps create an atmosphere that feels both familiar and fresh.
The aesthetic is distinct enough to stand out without overwhelming the content. It works well when you need to grab attention quickly while maintaining readability. Unlike many ornate scripts that become hard to read at smaller sizes, this option balances personality with clarity. You can download it easily through marketplaces like Creative Fabrica to get started right away on your next piece.
Best Uses for a Playful Retro Style
Many creators struggle to find the right typography for specific themes without looking cluttered or dated. This particular design solves that problem by offering a polished look that fits various eras. For instance, if you run a small business selling handmade goods, you can use it for custom labels or packaging tags. The rounded letters suggest approachability and friendliness, which often resonates well with customers browsing boutique shops online.
- Greeting Cards: Perfect for birthdays, weddings, or holiday messages where a handcrafted look is desired.
- Social Media Graphics: Great for Instagram posts or Facebook banners that need to stop the scroll.
- Apparel Design: Works beautifully on t-shirts, hoodies, and tote bags for print-on-demand services.
- Event Branding: Ideal for signage at local fairs, baby showers, or family reunions.
When applying the Retro Magic Font, it is essential to consider spacing and hierarchy. Using it as a primary header allows subheadings in a simpler sans-serif font to ground the design. This contrast ensures the message remains clear even when the decorative element is prominent. Many users find success by keeping the background clean to let the letterforms shine without visual competition.
Pairing Your Typography Choices
Selecting a partner font is often more critical than picking the main face. If you choose something too complex, your layout might become chaotic. A neutral text font usually works best here to balance the flair of the display type. Sometimes, however, you want to match the energy entirely with another decorative character set.
If you are feeling adventurous, try combining this style with something that captures similar nostalgic vibes. The Creative Vintage collection offers several options that share that mid-century charm. Exploring those designs can help maintain consistency across a larger brand identity. For example, you might use one for the logo and another for secondary elements on a website footer.
For projects leaning towards children or families, balancing the retro feel with something bold can work wonders. Consider testing the waters with a weightier option like Bold Kids. The mix provides structure while keeping the fun factor high. This combination is particularly effective for educational materials or party invites where legibility for younger eyes is a priority.
Sometimes, the goal is to capture a specific mood rather than just a time period. A colorful palette can transform the perception of the letters significantly. While this font doesn't inherently include gradients, pairing it with bright imagery complements the cheerful nature of the shapes. If you want to dig deeper into color themes, you could look at fonts designed with vibrant aesthetics in mind, such as Rainbow Memories.
Occasionally, you might need a duo set to give yourself flexibility with layout density. Finding a matching pair reduces the mental load of searching for separate files. Something like Good Vibes Only Duo offers a complete package that often comes together seamlessly. These sets are especially useful when you are managing tight deadlines and need everything to coordinate perfectly.
Technical Considerations and Installation
Before diving into design software, it is smart to verify system compatibility. Most display fonts come in OpenType or TrueType formats compatible with Windows and Mac systems. Once downloaded, install them following the standard procedures for your operating system. After restarting your design program, the new selection should appear in your library alongside your existing favorites.
Testing different weights and kerning adjustments can reveal how the characters interact with each other. Tight tracking may emphasize the retro compactness, while loose tracking can create a modernist break from tradition. Experimenting with scale is also key; sometimes reducing the size makes the details harder to discern, so reserve the largest sizes for focal points.
There are other unique characters available in the broader ecosystem if you need variety. For instance, a jagged or distorted shape can add edge to a softer theme. Designers often seek out unique quirks to differentiate their work from generic templates. A distinctive choice like Trup Tomp offers a slightly unpredictable feel that stands apart from traditional structures.
Next Steps for Your Project
To ensure everything runs smoothly from concept to final product, follow this quick checklist. It covers the essentials to avoid common pitfalls before you finalize the file.
- Preview the File: Open the preview sheet to check all character glyphs before purchasing.
- Read the License: Confirm whether your intended use falls under commercial or personal rules.
- Test Print Output: Send a sample page to print to verify sharpness and ink coverage.
- Save Versions: Keep backup files of your project in case you need to tweak the font later.
Taking the time to understand these mechanics saves frustration down the road. With the right setup, you will have a polished result that looks professional and intentional.
Get Started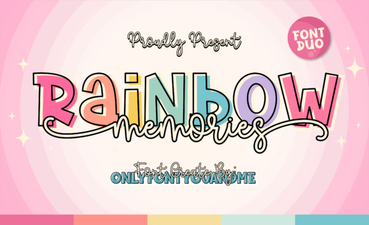 Rainbow Memories Font: Design Projects & Creative Uses
 Hand-Drawn Doodle Fonts for Creative Projects
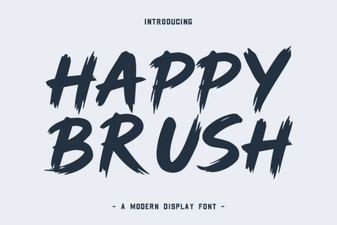 A Joyful Brush Font for Creative Projects
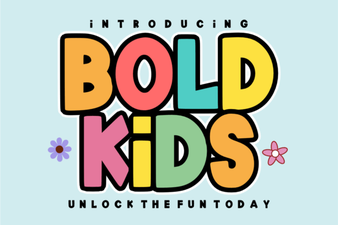 Creative Font Ideas for Bold Kid-Friendly Designs
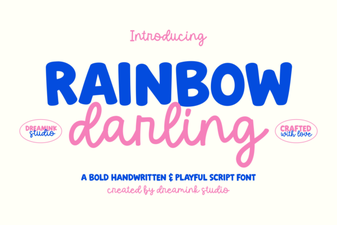 Rainbow Darling Duo Font: Creative Pairing Ideas
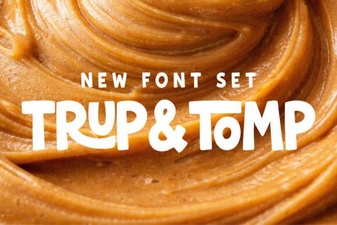 Trup & Tomp Font: Creative Typography Designs